How to Choose a Network Server Rack Cabinet: A Practical Selection Guide
By Jergeo Engineering Team | Updated September 2026 · 10 min read
A network server rack cabinet is not just a metal box. It determines how well your equipment breathes, how easily technicians can service connections, and whether your cabling stays organized as the network grows. The wrong cabinet leads to overheating switches, tangled fiber patches, and equipment damage from overloaded mounting rails.
Most procurement mistakes we see come down to three things: buying a cabinet that is exactly the right size today with zero room for growth, choosing mesh doors for equipment that needs sealed cooling, and underestimating how much cable management hardware the installation actually requires.
This guide covers the selection process from capacity planning through installation, based on specifications from our JNC-A series network cabinets.
Summary
Choosing the right network server rack cabinet comes down to five decisions: correct U-height sizing, door type (mesh vs glass), weight capacity, cable management layout, and environmental conditions. This guide walks through each decision with real specifications from our JNC-A series — available in 9U wall-mount (450x550x405mm) and 42U floor-standing (2050x600x600mm) configurations.
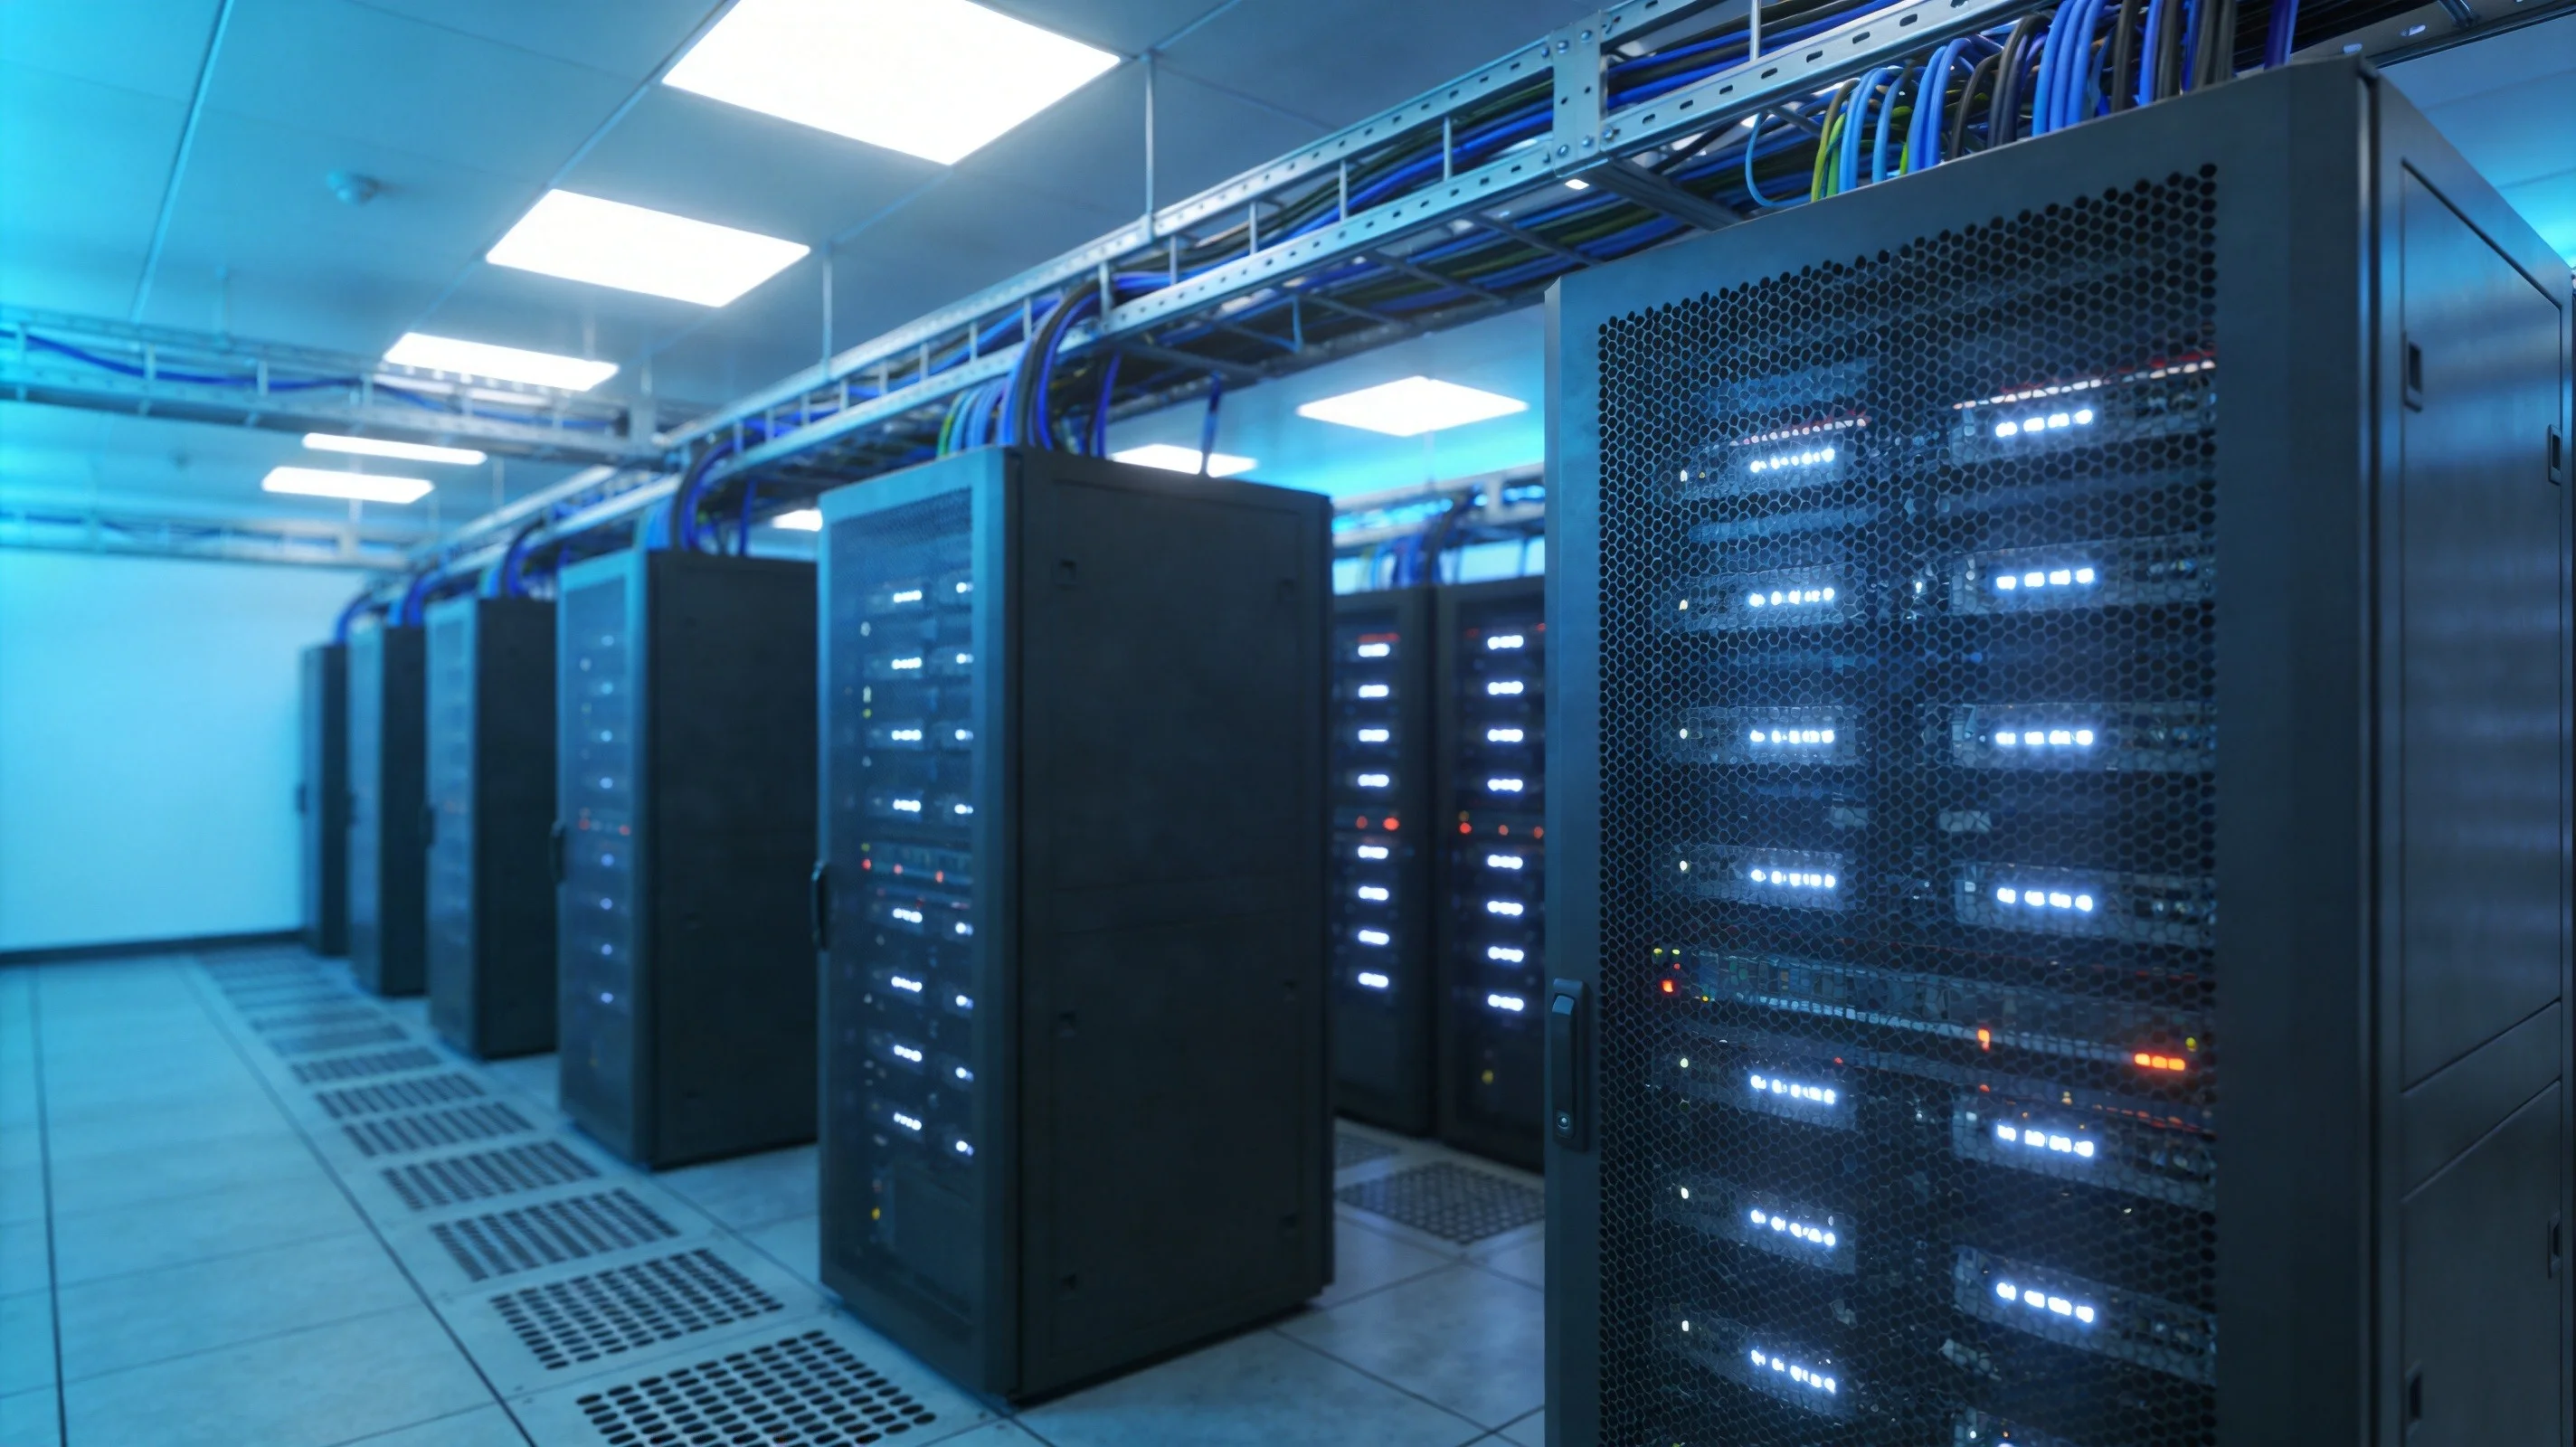
Why Your Network Server Rack Cabinet Choice Matters
A network server rack cabinet is not just a metal box. It determines how well your equipment breathes, how easily technicians can service connections, and whether your cabling stays organized as the network grows. The wrong cabinet leads to overheating switches, tangled fiber patches, and equipment damage from overloaded mounting rails.
Most procurement mistakes we see come down to three things: buying a cabinet that is exactly the right size today with zero room for growth, choosing mesh doors for equipment that needs sealed cooling, and underestimating how much cable management hardware the installation actually requires.
This guide covers the selection process from capacity planning through installation, based on specifications from our JNC-A series network cabinets.
Step 1: Calculate Your Required U-Height
Every piece of rack-mount equipment occupies a specific number of rack units (1U = 44.45mm height). Start by listing everything that needs to go inside the cabinet:
| Equipment Type | Typical U-Height | Notes |
|---|---|---|
| Patch Panel (24-port) | 1U | One per 24 ports |
| Network Switch (24-48 port) | 1U | Managed or unmanaged |
| Fiber Distribution Panel | 1-2U | Depends on port count |
| Cable Manager | 1U | One per 1-2U of patch panels |
| UPS (1-3kVA) | 2-4U | Rack-mount with batteries |
| 1U Server | 1U | Typical 1U/2U configuration |
| Blanking Panel | 1-4U | Fill unused spaces for airflow |
Add up the total U-height, then add 30% headroom. That is your minimum cabinet size. If you calculate 7U of equipment, do not buy a 7U cabinet — buy a 9U or 12U. The extra space costs very little and makes a significant difference in cable routing and thermal performance.
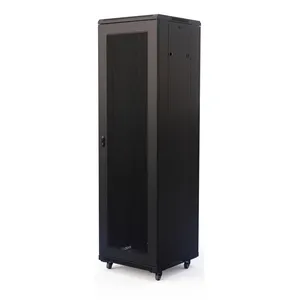
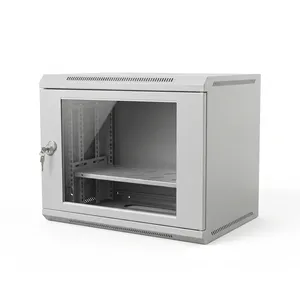
For context, our JNC-A-9U (450x550x405mm) works for small network closets with a switch, patch panel, and a cable manager — roughly 3U of equipment in a 9U cabinet. The JNC-A-42U (2050x600x600mm) handles full server room deployments with multiple switches, patch panels, ODF units, and UPS backup.
Step 2: Choose the Right Door Type
Door type directly affects thermal performance. The three options available on most network cabinets are:
Honeycomb Mesh Doors (70%+ Ventilation)
Best for passive equipment: patch panels, fiber distribution units, network switches, and routers that generate minimal heat. The perforated pattern allows natural convection — cool air enters from the front, warm air exits from the rear. Our JNC-A series achieves 70%+ ventilation efficiency with honeycomb perforation, which is sufficient for most indoor network installations without additional fans.
Glass Doors (Solid)
Required when equipment has built-in forced cooling with specific airflow requirements. Most rack-mount servers, UPS units, and blade enclosures expect front-to-back airflow through sealed front panels. Glass doors prevent bypass airflow that would reduce cooling efficiency.
Mixed Configuration
The JNC-A series supports front single + rear double door configurations in mesh, glass, or fully enclosed variants. For mixed installations (servers + patch panels), use glass front doors for the server section and mesh doors for the passive equipment section.
Step 3: Verify Load Capacity
The cabinet's cold-rolled steel frame must support everything you plan to install. Key structural elements:
- Frame rating: Standard JNC-A cabinets support 300-500kg static load with 1.2mm cold-rolled steel construction
- 19-inch mounting rails: The weakest point in most installations — verify rails are rated for your equipment weight. Look for reinforced cross-members, not just side rails
- Wall-mount cabinets: The JNC-A-9U supports approximately 50-80kg. Wall-mount hardware must be rated for the total installed weight plus a 25% safety margin
A common failure mode: installing a UPS with batteries in the bottom of a floor-standing cabinet. UPS batteries are heavy (a 3kVA unit with batteries can weigh 40-60kg). The cabinet frame handles this, but the wall-mounting bracket for a 9U cabinet will not. For heavy bottom-mounted equipment, use floor-standing cabinets only.
Step 4: Plan Cable Management Before Installation
Cable management is where most network cabinets fail in practice. Plan the cable routing path before installing any equipment:
Horizontal Cable Managers
Install one cable manager every 1-2U of patch panels. In a typical installation with 6 patch panels, you need at least 3 cable managers (1U each). This means 6U dedicated to patch panels + 3U for cable management = 9U minimum just for the connectivity layer.
Vertical Cable Ducts
In a 600mm-wide cabinet, vertical ducts on both sides consume approximately 100mm per side, leaving about 400mm for equipment mounting. This is standard for 19-inch rack installations. If you need more cable routing space, step up to an 800mm-wide cabinet.
Fiber vs Copper Separation
Route fiber optic cables in separate ducts from copper cables. This prevents interference with high-speed copper (10GbE and above) and maintains minimum bend radius for fiber. In cabinets with limited vertical duct space, use a center divider or dedicated fiber trough.
Step 5: Check Environmental Requirements
Network cabinets are indoor equipment (IP20 protection). The operating environment specifications for JNC-A cabinets:
| Parameter | JNC-A Specification |
|---|---|
| Working Temperature | 0 to +35 °C |
| Relative Humidity | 95% or less at 40 °C |
| Air Pressure | 70-106 kPa |
| Protection Class | IP20 (indoor only) |
If your installation environment exceeds these ranges — for example, a non-climate-controlled telecom shelter that reaches 45°C in summer — you need an outdoor-rated cabinet with active cooling, not a standard network cabinet. The JOC series outdoor telecom cabinets are designed for those conditions.
Step 6: Choose Color and OEM Options
Standard color for JNC-A cabinets is black, which matches most data center aesthetics. Custom colors are available for OEM orders — common alternatives include RAL 7035 (light gray) for telecom rooms and RAL 9005 (jet black) for enterprise installations. Color matching requires a minimum order quantity and lead time for powder coating setup.
OEM branding — custom nameplates, documentation, and packaging — is available for all order quantities. The cabinet structure remains identical regardless of branding.
Product Recommendation: JNC-A Series
Based on the selection criteria above, here is how the two JNC-A models map to common deployment scenarios:
Recommended Products
Installation Checklist
Before mounting your first piece of equipment, verify these items:
- Foundation (floor-standing): Level, clean surface. Anti-vibration pads under each corner if on raised floor
- Wall-mount anchors: Verify wall type (concrete, drywall, steel stud) and use appropriate anchors. Concrete: M8 expansion bolts. Drywall: toggle bolts rated for total load
- Grounding: Connect cabinet ground bus to building ground before installing any equipment
- Rail alignment: Verify front and rear rails are at the same depth and level. Adjust before loading equipment
- Cable entry planning: Confirm top or bottom entry matches your cable route. Install cable entry plates or brush grommets before running cables
Related Articles
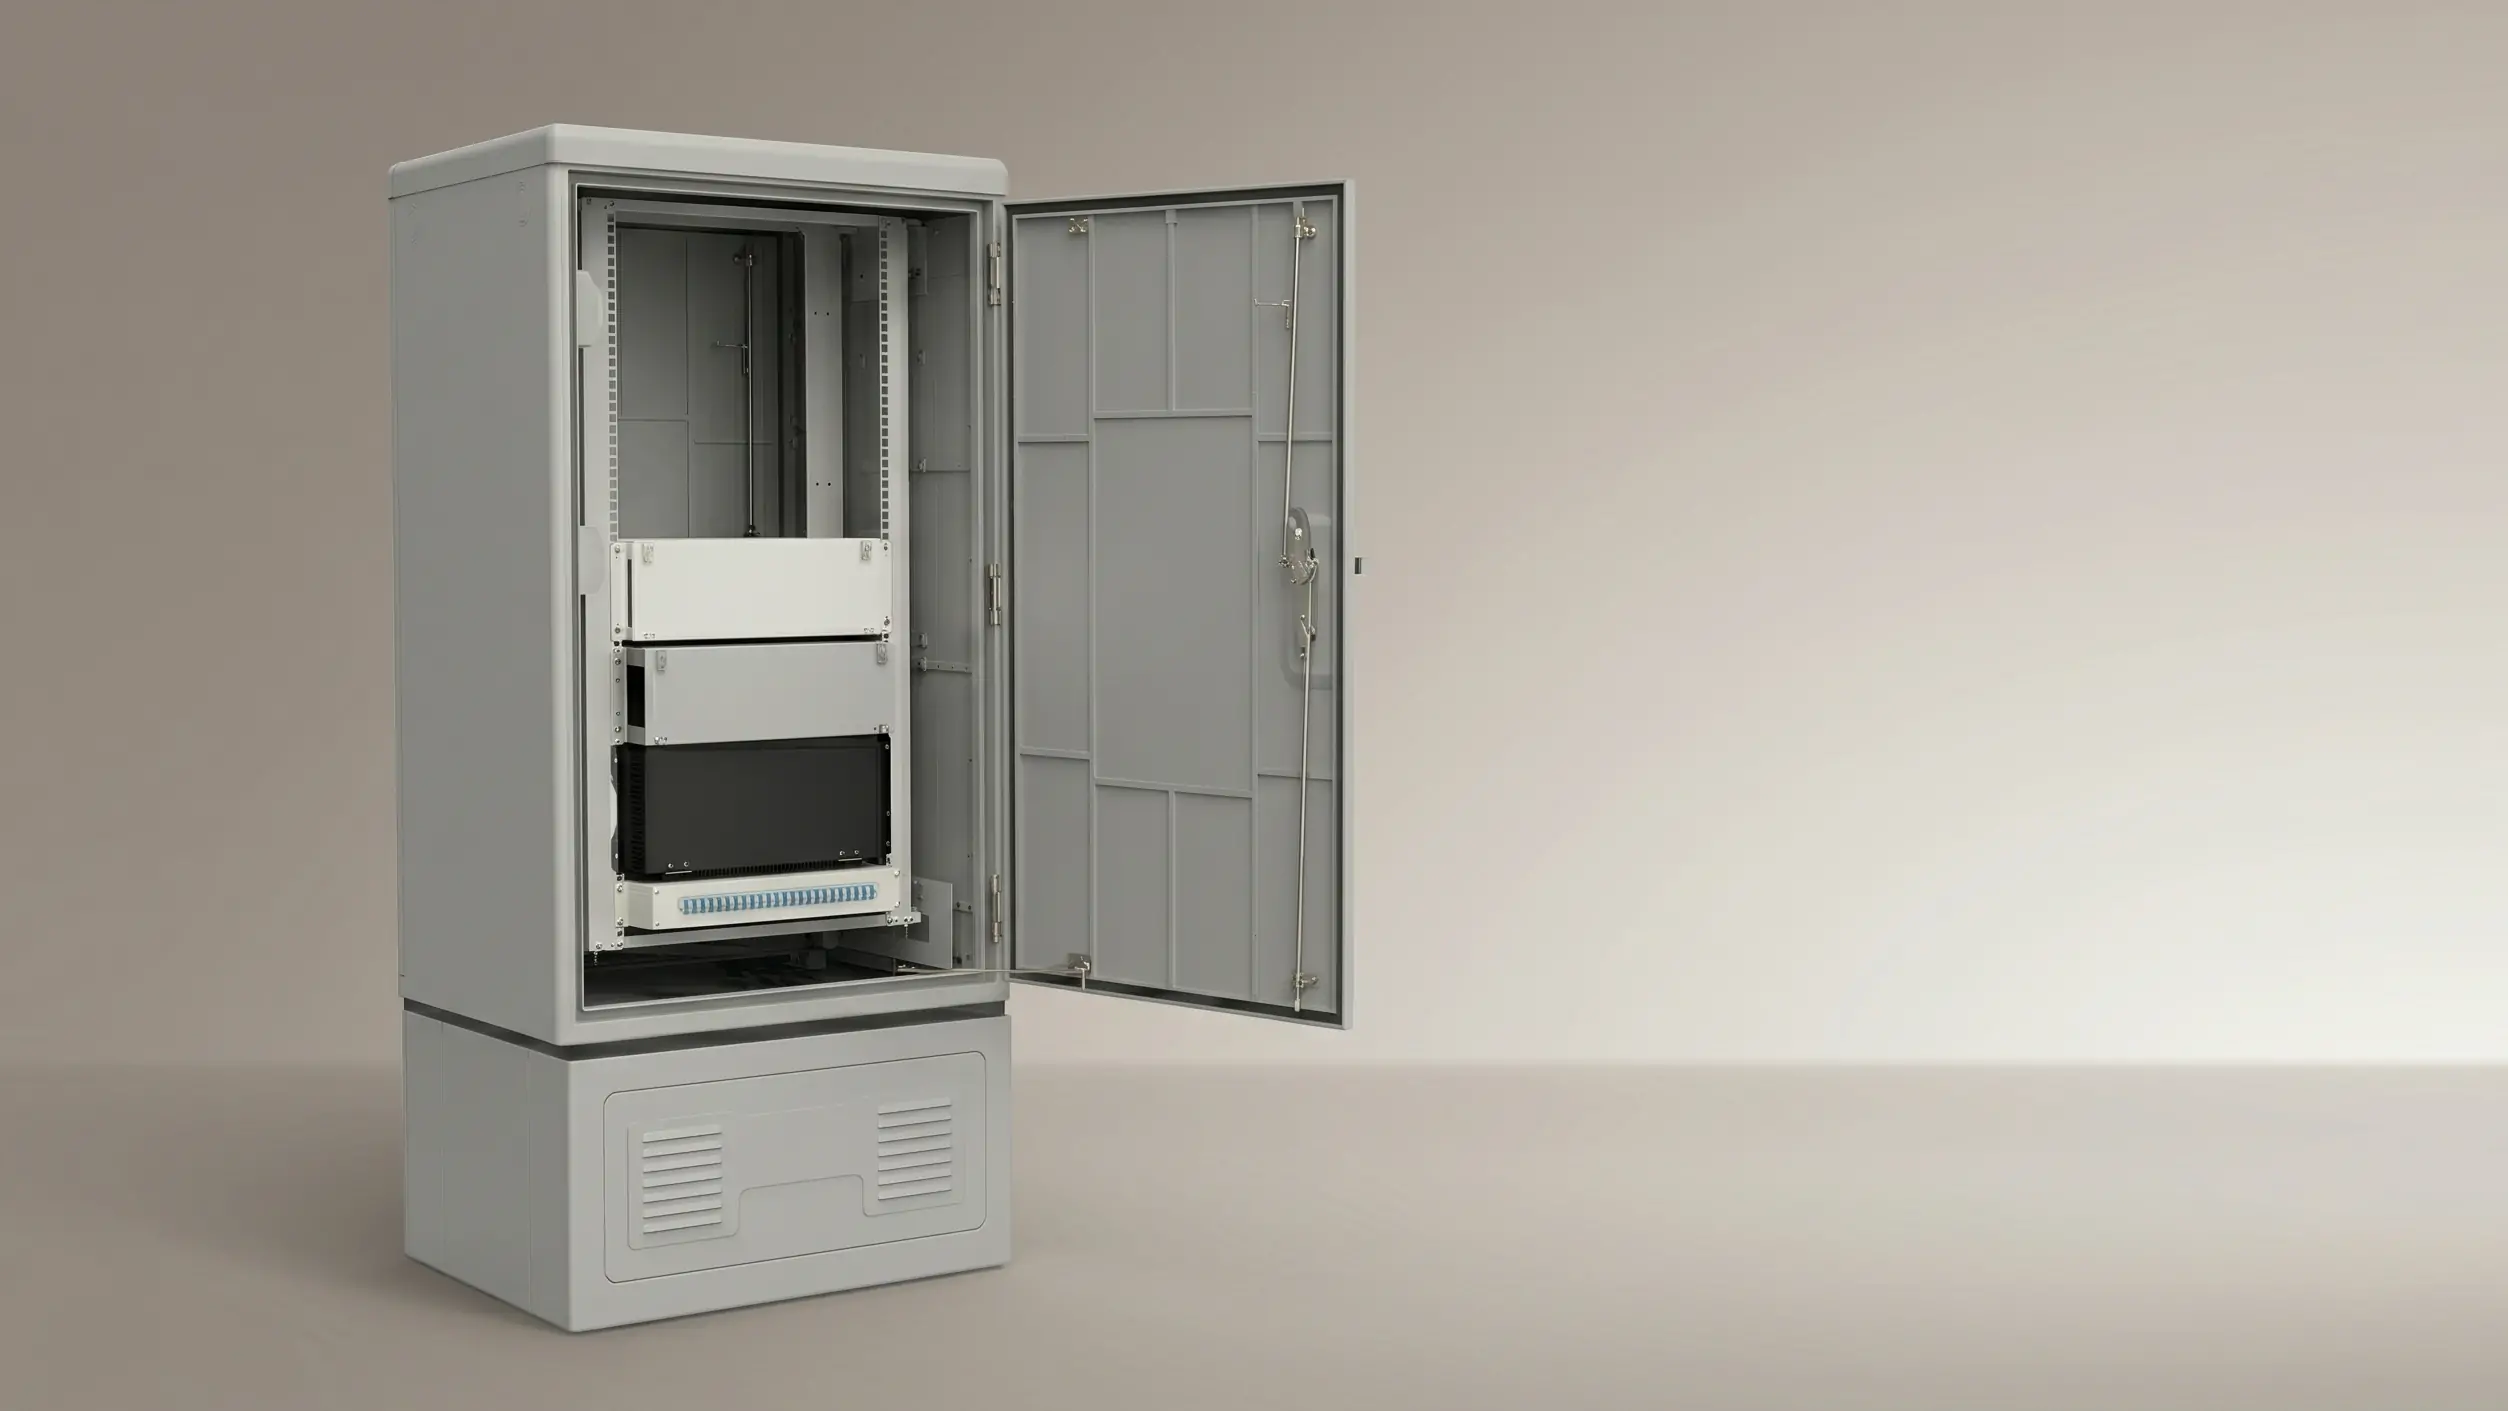
Outdoor Telecom Cabinet Selection Guide
Capacity planning, IP rating, and thermal management for outdoor active equipment enclosures.
Read Article →
Fiber Distribution Cabinet Buying Guide
Capacity planning, material selection, and IP rating explained for FDC procurement.
Read Article →
AI Data Center Fiber Management
How AI workloads are reshaping fiber optic infrastructure and cabling requirements in data centers.
Read Article →References
Key takeaway
The cabinet is the foundation of your network infrastructure — not an afterthought. Size it for where you will be in 3 years, not where you are today. Choose mesh doors for passive equipment, glass for forced-cooling equipment. Plan cable management before you install the first patch panel. A well-specified network cabinet costs slightly more upfront but prevents years of thermal problems, cable chaos, and capacity upgrades.
Related products